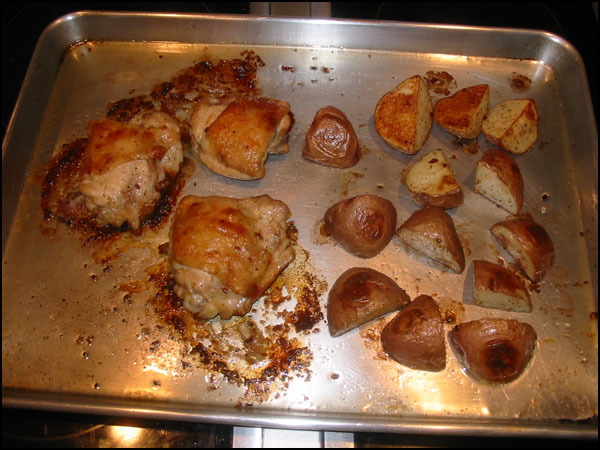
Roasted Chicken Thighs (butter, garlic, cumin, salt, pepper) with Red Potatoes (olive oil, hot pepper flakes, salt, pepper, chicken fat), easy and delicious:
Plated:

Steak on the Le Creuset Skinny Grill:


And then:

Roasted Chicken Thighs (butter, garlic, cumin, salt, pepper) with Red Potatoes (olive oil, hot pepper flakes, salt, pepper, chicken fat), easy and delicious:
Plated:
Steak on the Le Creuset Skinny Grill:
And then:

So yes, I’m back to baking after a brief leave of absence. From now on, I will limit my bagel making activites to one batch per week – three dozen is way too crazy!
I remades the steakhouse bread deals from a few posts below. Turned out grand! I even corrected the recipe. Note to self – finish bagel series.


Sometimes recipes have a teaser, secret-ingredient-type deal. Usually the inclusion of the secret-ingredient grants the finished product extra authenticity and the assurance that you are experiencing the real thing.
Well in the case of the “New York Style” Bagel recipe, that elusive ingredient was Malt Syrup. All the others are easy. The article sez that “Malt Syrup, a sweetener, gives bagels their characteristic flavor.”
Luckily, it turns out there’s a beer supply store a few miles from my current location, adjacent to an airport. They had four varieties of the secret-ingredient: Light, a different kind of Light, Amber, and Dark. I chose option #3, which they dispensed by the pound, $2.10 per. Bucket extra.
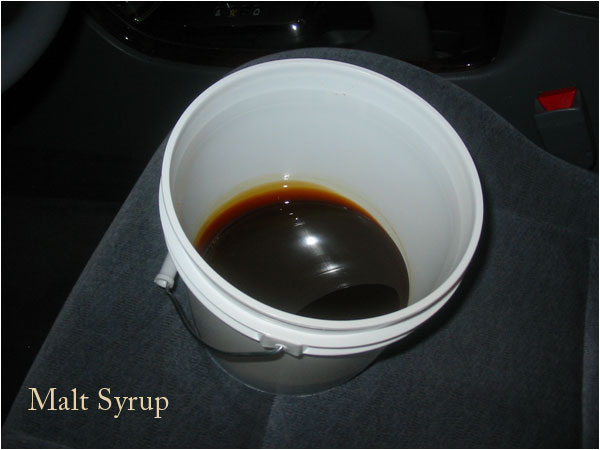
In addition to the flavor component, the syrup also helps the bagels brown better and faster. Unfortunately I purchased two pounds when the recipe requires one tablespoon (I didn’t have the recipe handy). The bucket is very solid. Here’s what you need:
New York Style Classic Water Bagels
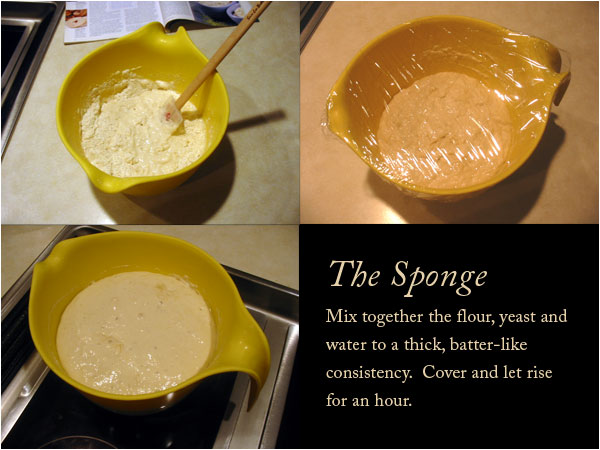
Sponge:
I wasn’t sure exactly what “lukewarm” water felt like, so I decided to put my new and nifty digital thermometer to use. What Mr. Thermometer says is “lukewarm” (70 degrees F) I would describe as feeling more like “tepid.” Handy device, it is!
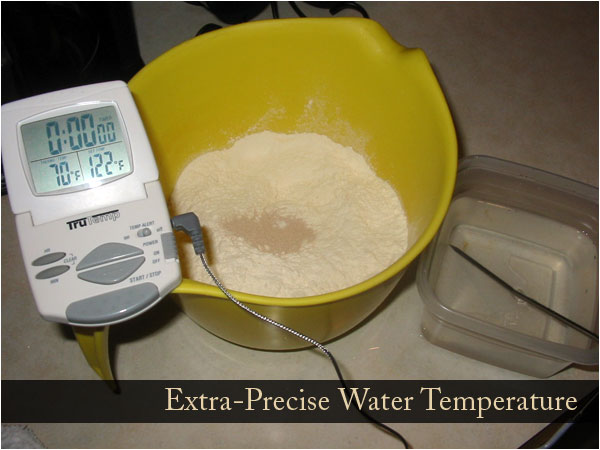
With water at proper temp, we create the sponge:

![]()
Costco is great for any number of products… I’m especially fond of their hot dogs and reasonable beer prices. They have a house brand called “Kirkland” which they slap on pretty much anything from soup to nuts. Long story short, I found a cigarette butt in my cashews.
It was obviously processed, as it smelled strongly of cashew and lacked any burnt tobacco scent at all. So I took a picture! I have placed blue dots on the offending butts, those with strong constitions can click to see the horror.

p.s. Yes, the rest of the cashews were gobbled up, greedily! I’m not afraid of dirt, but I do wish the smoker would have used a proper disposal container or at least tossed some gold nuggets in the mix.

Just like the stuff at your favorite chain steakhouse, except for the dark dark color. If you want that, you need to add food coloring or use 100% molasses instead of honey. Use a waterbath-type deal if you like a nice crust.
Wet
1 ½ cups warm water
2 tbl softened butter
¼ cup honey
½ cup molasses
Dry
2 cup bread flour
1 2/3 cup whole wheat flour
1 tbl cocoa powder
1 tbl sugar
2 tsp instant coffee
1 tsp salt
2 ¼ tsp instant-rise yeast
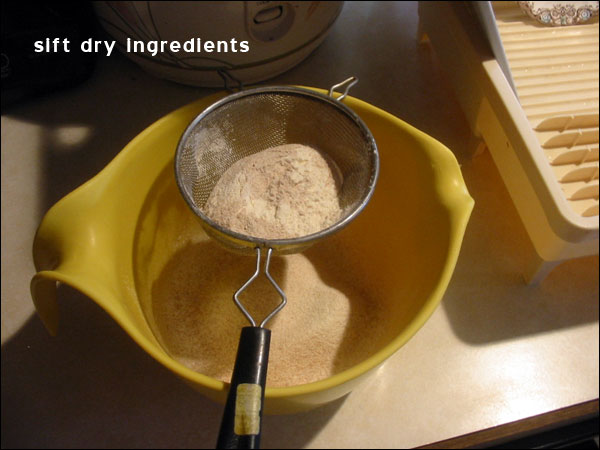
First, sift the dry ingredients into a large bowl.
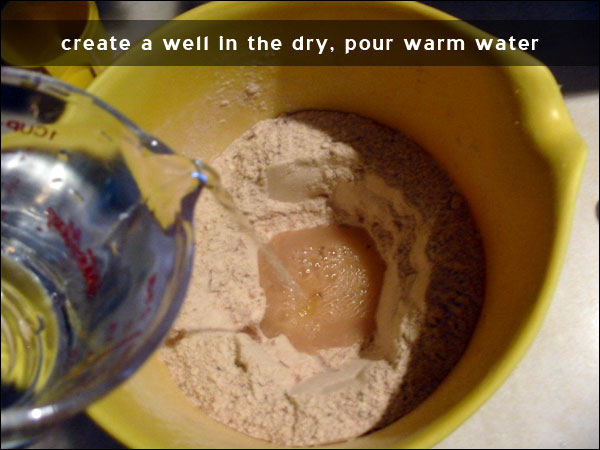
Create a well in the middle of your dry mix. I did it in my handy yellow bowl, but its capacity fell a bit short. We’re going to be incorporating the wet ingredients into the dry.
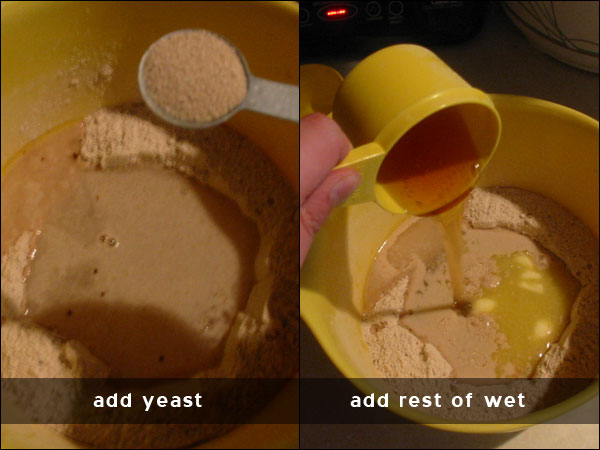
After adding the yeast and the rest, slowly stir the deal around to blend together the wet ingredients. Then, start pulling the dry into the middle to create a wet and messy dough.
New setup!
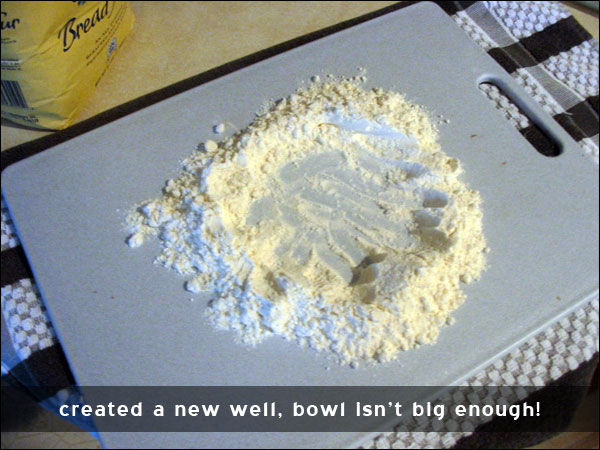
I then tranferred the wet and messy mix to the floured board:
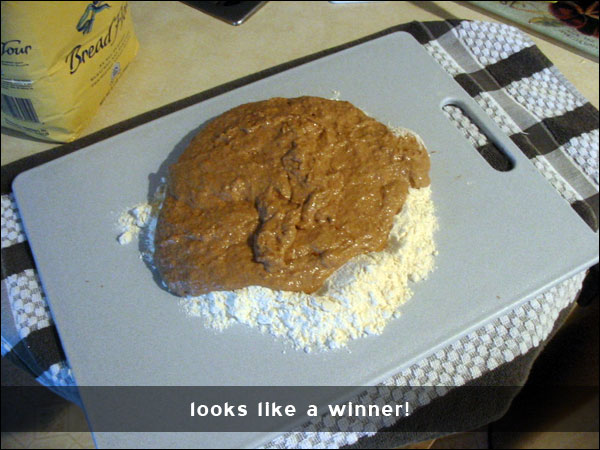
Work the deal around a bit. It’s a very sticky thing to deal with at first; you can definitely use a scraper to avoid too much sticky fingers. Knead for about 10 minutes; it’ll still be sticky, as well as uniform in color and maybe a bit shiny.
As far as the kneading, I started doing it heel-style but I eventually just squished it around until it began to release its gooey-grip on the skin. Sticky it is.

Transfer the deal to a greased bowl, cover and let rise for an hour in a warm room, or the oven with the pilot light on. After the rise it should be pretty easy to handle; I prefer to use kitchen shears to cut the dough. I believe I split them into 4 or 5-ounce portions.
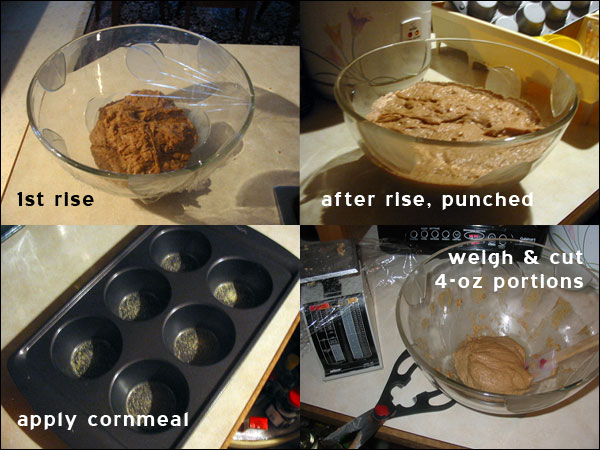
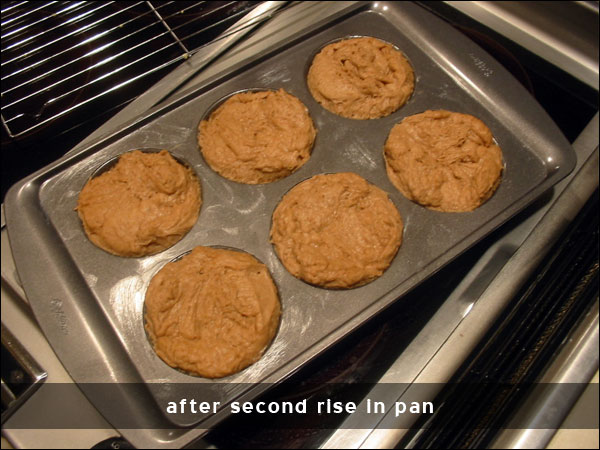
ANOTHER rise, same conditions as the first.
I have tested these with the following accompaniments:
Fettucini Alfredo – STRONG
Meatloaf – STRONG
with Cream Cheese – STRONG
with Butter – NOT BAD AT ALL
Next time, I might add a bit of brown sugar to increase the sweetness Or would the yeast eat the brown sugar? Also, I’m going to try an American-Style loaf, yes I am excited!

These turned out pretty dang delicious. I would charge at least two bucks each.
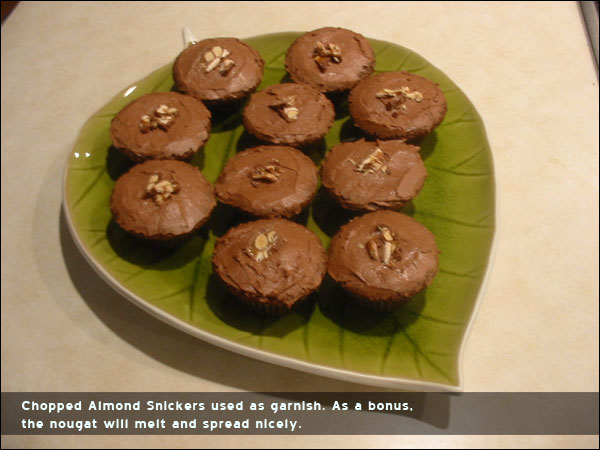
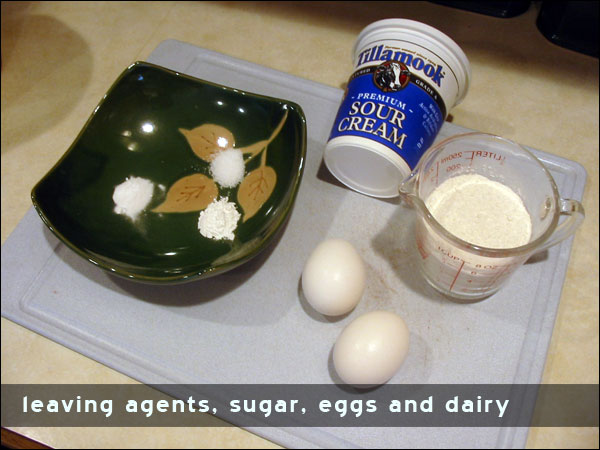
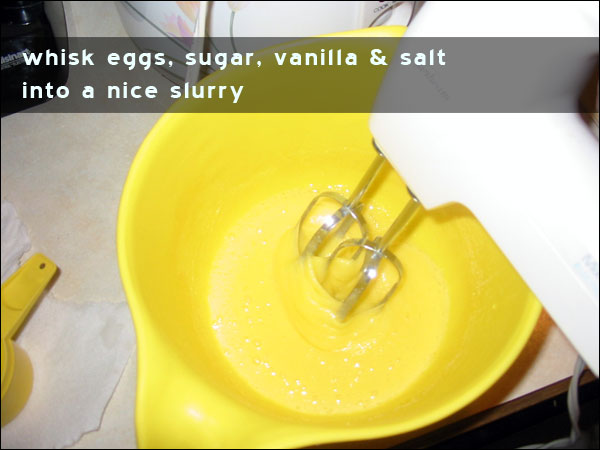
DOUBLE-SNICKERS CHOCOLATE CUPCAKES
(adapted from Cook’s Illustrated’s Dark Chocolate Cupcakes recipe)
Frosting, recipe from Ghirardelli (enough to frost 12 cupcakes)
The frosting is made exactly like the chocolate ganache/wonder mix that used in the cupcakes. Here’s the pictures!

Creating chocolate mix:

Using double-boiling technique to melt chocolates and butter:
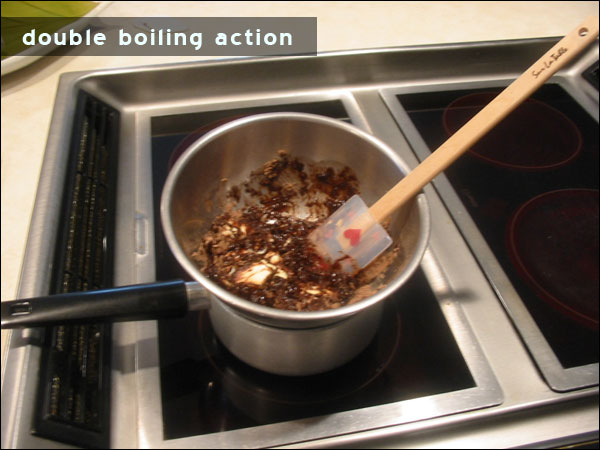
Got to take the mix off the heat every few seconds to prevent burning:
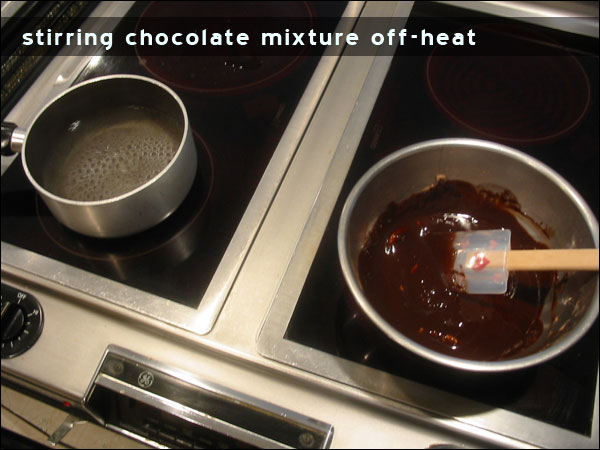
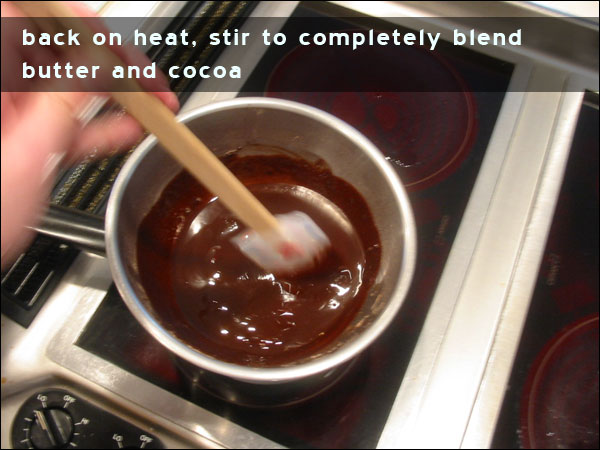
Back on, back off. The butter needs to be completely incorporated, it will linger if the whisking isn’t strong:
Plus chocolate:

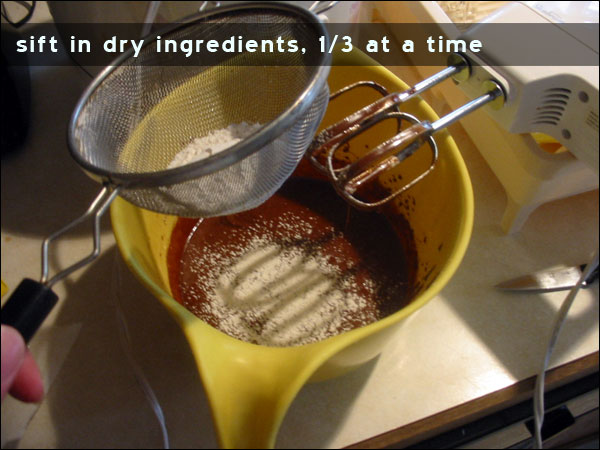
Plus flour mixture:

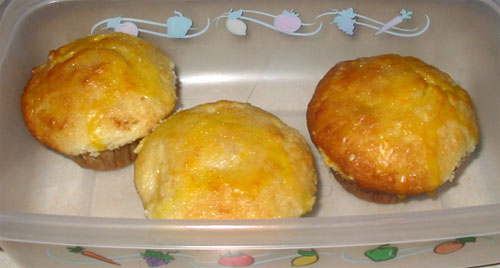
Pineapple Coconut Cupcakes Muffins. Turned out good, next time I will do a buttercream instead of a glaze.
Here’s how the whole deal proceeded:
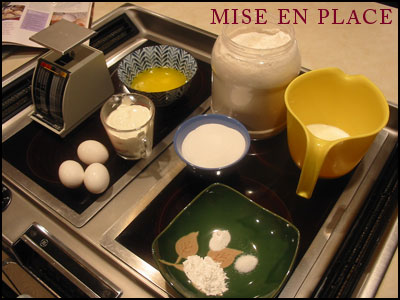
Mixed thm all together:
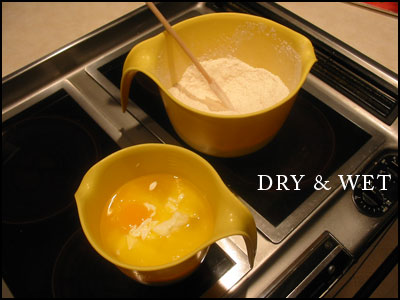
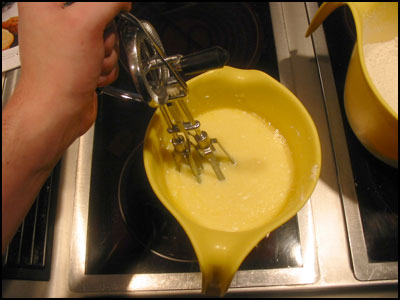
Mixing together the wet ingredients with hand-powered whisking device:
Pour wet into dry:
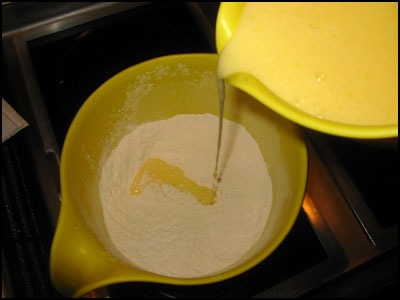
Mix em’ up:

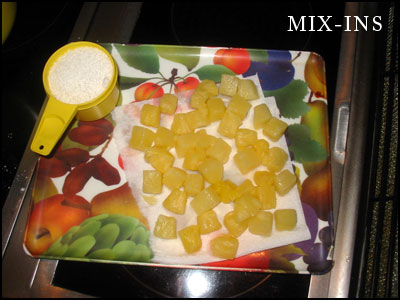
The mix-ins, pinapple and dried, dessicated coconut. The coconut was a refugee from a put-off project, froma cake store in Seattle. Can’t find it at Safeway. Pat/squeeze dry the pineapples.
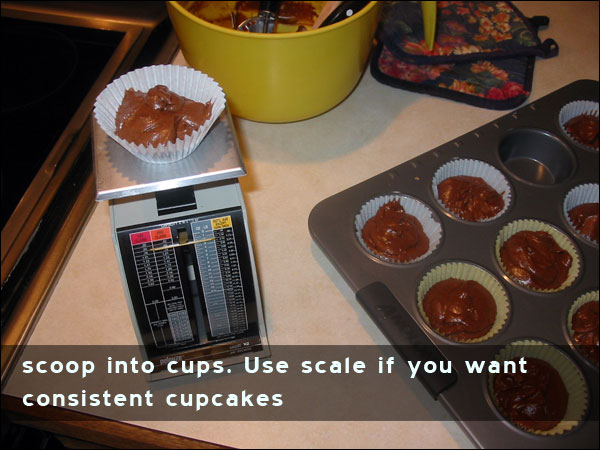
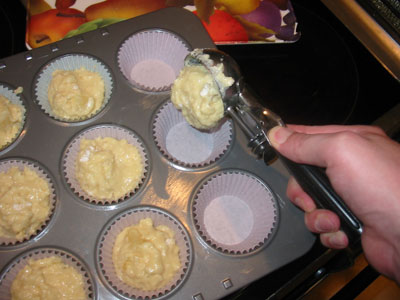
Scooping stuff into cupcake thingies:
Buns in the oven:
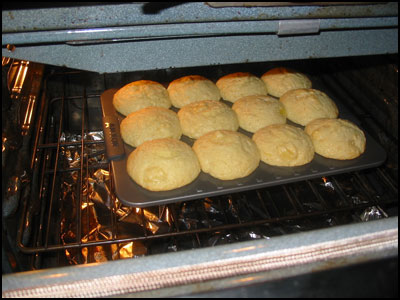
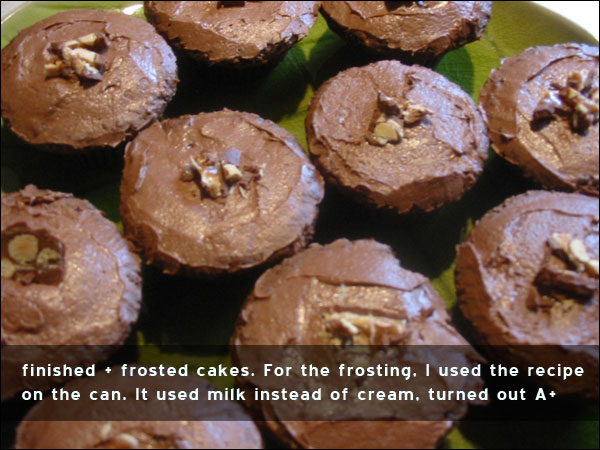
Done, pre glaze:

Thanks!
So yesterday I was trying to figure out how to improve on my previous dark brown bread effort when I thought about molasses. I’ve never worked with the stuff, but I reasoned that it would help with the bread color and might mask the yeasty overtones of the last batch. Also, I decided to use a muffin pan instead of rolling them freestyle – the wet dough spreads too much without support.
My local safeway had two varieties of molasses, I chose the cheaper bottle. Three bucks!
So with this batch (only 1/2 size, ran out of yeast) I added a fair amount of molasses, replacing about half of the honey. To ensure a crusty bun, I nestled a pan filled with ice into the next to the baking sheet. This combination creates steam, which thru science/magic creates a uniform crust all around the bread. In French its a “bain marie” it is. Figure A illustrates this:

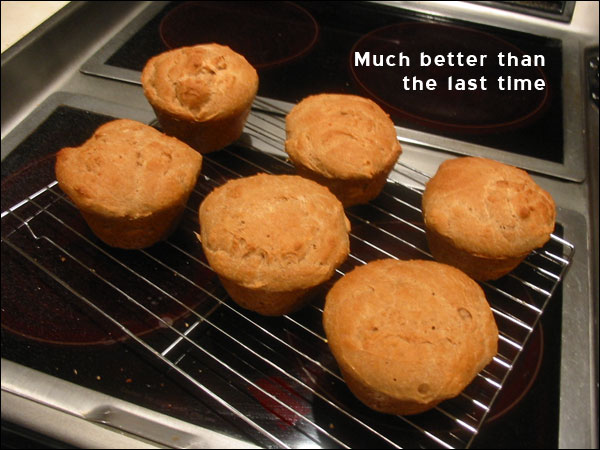
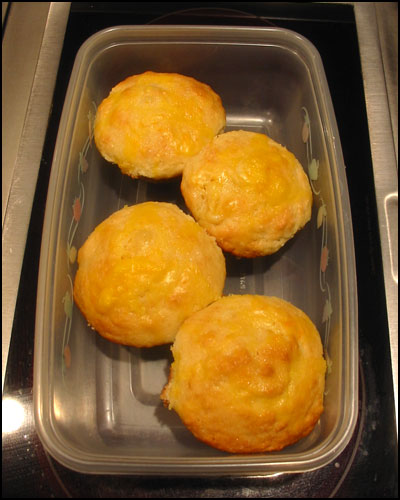
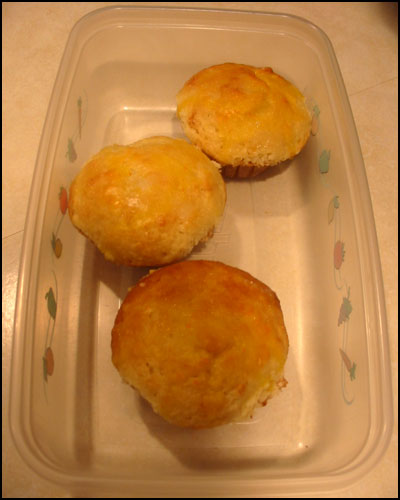
This time, there wasn’t any yeasty baking smell at all. After twenty minutes I popped the buns out of the oven and they looked pretty good. I brushed honey on the tops and made a honey butter with honey, butter, cinnamon and vanilla extract. Honey, butter, honey, butter. Honey butter!
So this batch turned out much better than #1. Better flavor, sweeter, crusty, non-yeasty.

Well, I didn’t know what to expect from this first batch so I wasn’t too disappointed. Basically I created a wheat roll, very good for sopping up sauces and whatnot but not so hot alone. Also, it was a bit too yeasty in character. Lessons learned:
– Don’t forget the water first when making yeast sponge
– Use a spatula or similar scraping device when attempting to knead wet, sloppy dough
So they turned out fine, but not exactly what I was looking for. With my newbiemess factored in, I would rate them as a B. They looked a little dumpy, plus silly cookbook author’s rolled oat garnish was ick.

